The Delay node lets you hold a contact in a Journey for a specified period time between steps.
Delays
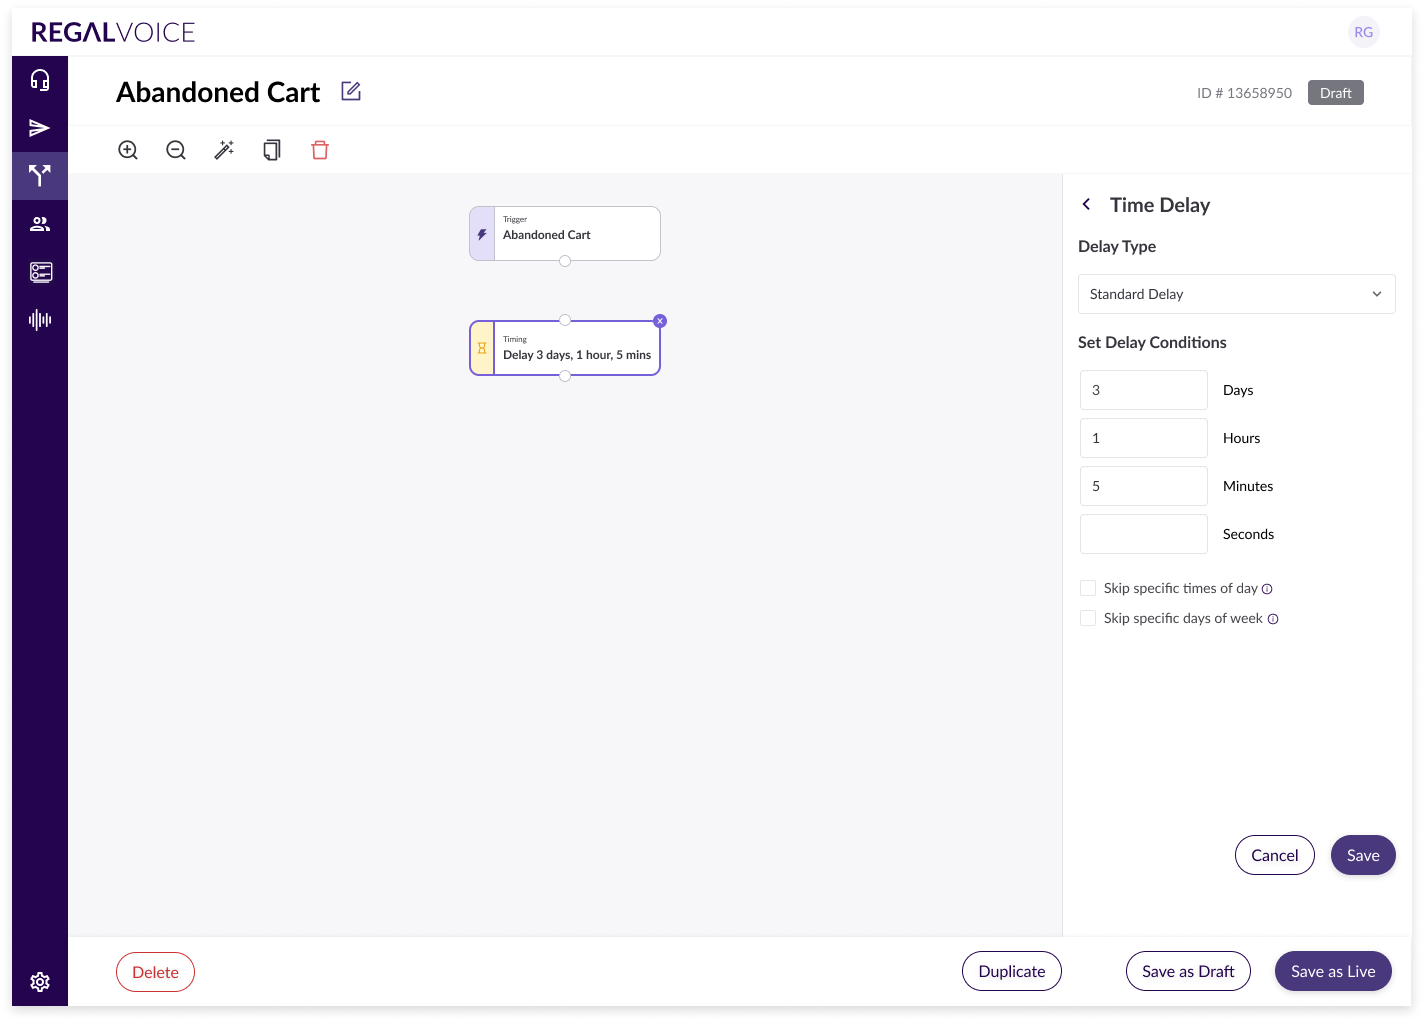
Delay nodes allow you to hold a contact for a certain number of days, hours, minutes or seconds before progressing them to the next node in the journey. For example, you may want to wait 30 minutes after a contact starts their Application to allow them time to complete their Application before calling them. To do so you would add a 30 minute delay node.
You can delay for any combination of days, hours, minutes and seconds.

Skipping Hours of Day
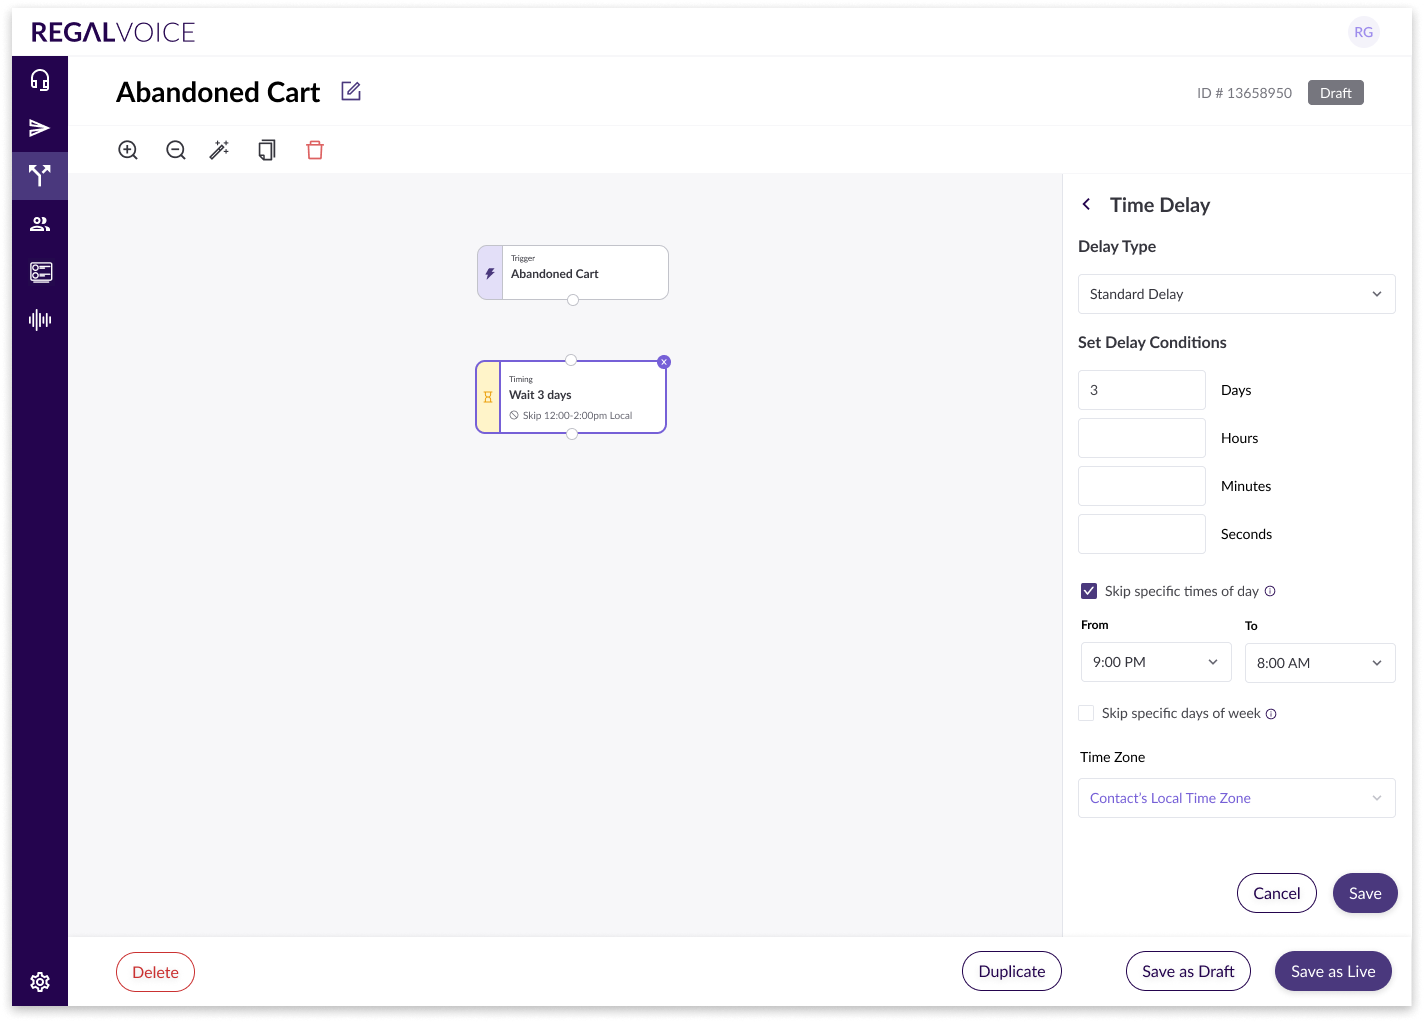
Once you've added a relative delay, you may want to further hold a contact in a Delay node because you don't want to call or text them at an inappropriate time. For example, let's say a contact signs up at 8pm and you have a 5 hour delay before a Send SMS node. It will be 1am for that contact, which may be an inappropriate time to message them. To avoid this, you can select the "Skip Hours of Day" checkbox and skip the hours of 9pm to 8am to avoid texting during those hours. In this case, the contact will receive the SMS at 8am the next morning.
Skipping hours of day is usually not necessary for very short journeys that don't have long delays because messaging or calling immediately after a contact took an action usually makes sense.

Business Hours & Quiet Hours
Common use cases for the skip hours include skipping hours that are outside of agent business hours - in case you always want to ensure agents quickly respond to a customer's response - and/or skipping quiet hours. Business Hours are typically fixed to a specific time zone, while Quiet Hours are typically relative to where a given contact lives. If you are trying to skip quiet hours, in the Time Zone dropdown make sure to select "Contact's Local Time Zone".
Skip Hours Then Days
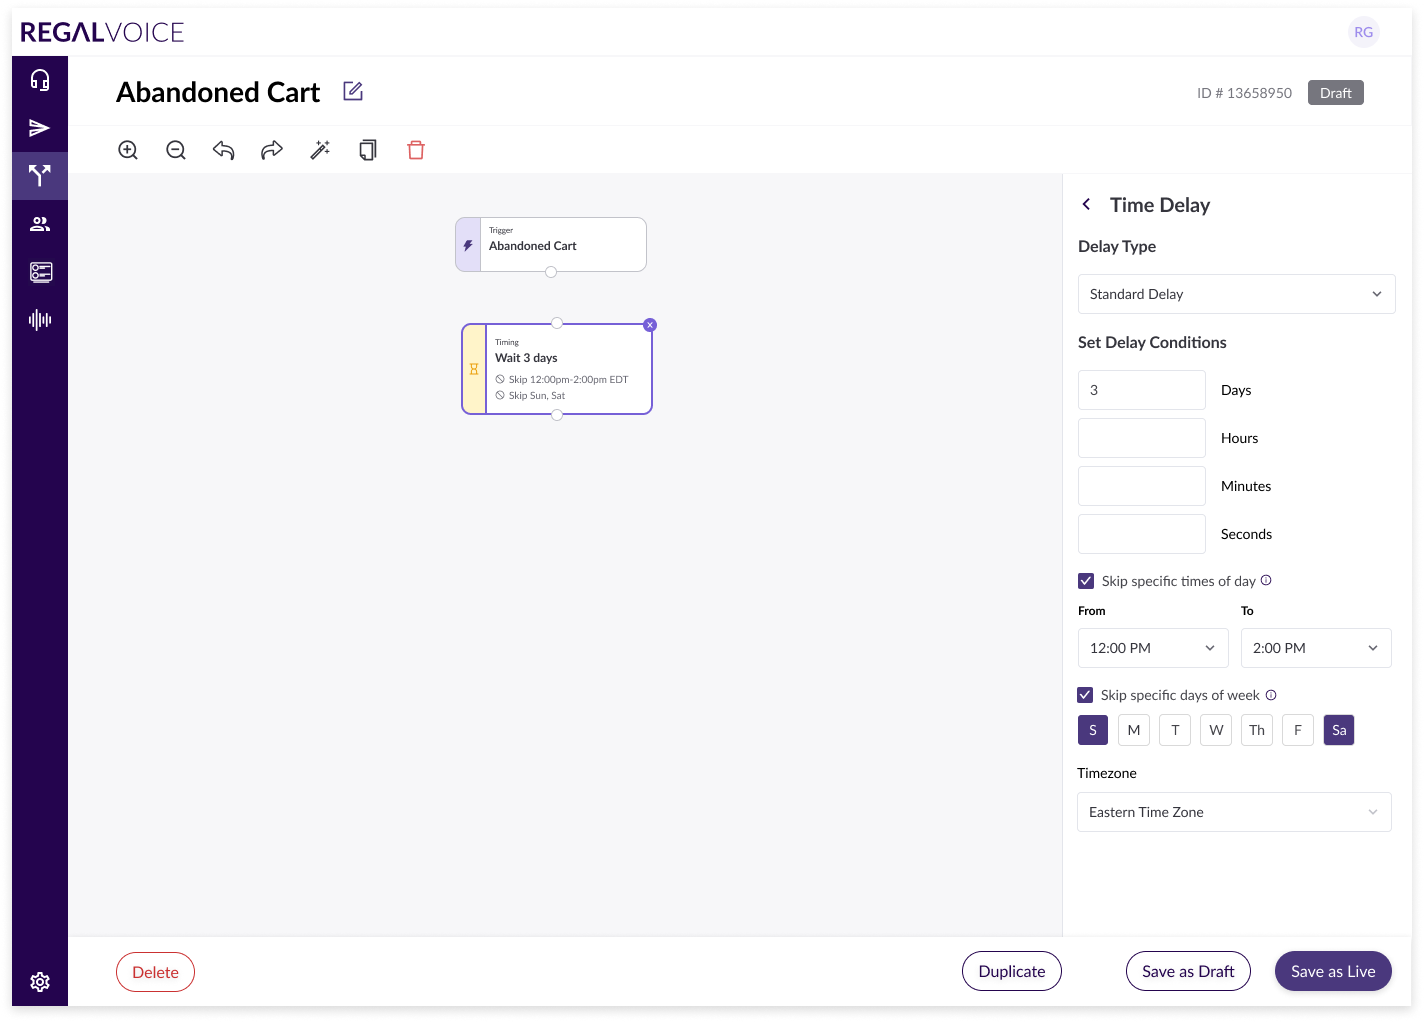
When skipping both hours of day and days of week, we first apply the skipped hours, then the skipped days - in that order.
Skipping Days of Week
You can also skip entire days of week in a delay node. For each day you skip, it delays the release of the contact to the next step by 24 hours. For example, let's say a contact enters a 3 hour delay node at 2pm on a Saturday, and you want to avoid calling them on Weekends. You would select the "Skip Days of Week" checkbox and select Saturday and Sunday to skip. The contact would then wait 3 hours until 5pm Saturday, then skip the next 48 hours, and progress to the Create Call Task node at 5pm on Monday.

Delay Using Time from Property
In addition to standard delays, you can dynamically delay based on a specific field value. Datetime fields from Contact Attribute and Triggering Event can be used. You can add or subtract time from the selected field value to further tailor the delay to fit your business needs.
For example, if you want to wait until 3 days before the contact's birthday to take an action, you can use customProperties.birthday from the contact minus 3 days. Alternatively, if you want to take an action 1 day after last cart activity date to prompt customers, you can use properties.lastCartUpdatedAt timestamp from the trigger event plus 1 day.
Note: If the selected Contact Attribute or Trigger Event Property has a null value, the delay node will release contacts instantaneously
Delay Until Contact Attribute (datetime)
Delay Until Triggering Event Property (datetime)